A lot of people are keenly learning the ways and methods to fix their computer problems, like replacing the laptop graphics card. Most of them use the information for personal use or to earn handsomely while fixing others PC problems. However, every fix has its own unique path and needs a little tech background. One of the most challenging tasks about computer repairs is repairing graphics card of the laptop. The following article will show you a few simple tips to fix this problem effectively.
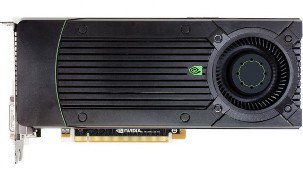
Well, there are lots of reasons why the Nvidia graphic card doesn’t display the graphics properly. The problem mainly occurs when the video card is not fitted properly into AGP or PCI adapter, or if the driver of graphics card is old. If you find any issues with your computer’s display, you have to first check your card’s connection, and upgrade it with the latest driver. Following are some helpful steps to fix the display problems with your graphics card.
Updating the Nvidia Driver
- To get latest driver, go to website nvidia.com and go to ‘Download Drivers’.
- Now, select your graphics card series, product version as well as OS of your computer and default language.
- Click on the “Search” button and then download drivers from the list. Save the downloaded file to your computer.
- Then, go to Start > Run. Enter the following command “devmgmt.msc” into Run window. Hit OK and Device Manager will be opened.
- Select the “Display adapters” from the list and right click on Nvidia video card. Select “Uninstall” option and follow all the instructions displayed on your screen.
- Now, you have to restart your PC in safe mode. Hit the “F8” button of keyboard when your PC boots and select the Safe Mode option. The computer will be now be restarting in the safe mode.
- Open the downloaded driver file in your computer.
- Right click on it and select “Run as administrator” option. Now, follow the instructions displayed on screen in order to install the latest driver.
Checking the Graphics Card Manually
- Shut your PC down. Remove all the connections, like power cord, monitor and etc attached to the CPU.
- Remove cover and open it up. Check out the graphics card slot. Check whether the card is fitted at 90-degree to the main board.
- If not, remove the screws fitted over the graphics card, and then smoothly push the card down to the edges. If the graphics card is fitted loose or inserted roughly, the edges of card would jut out at the AGP or PCI port.
- Confirm and screw your video card back into the port. Cover back your computer, and then connect all the wires and cables. Switch your PC on.
Be careful while opening up the CPU cover. Don’t touch the wires connected internally with other parts. Replacing or repairing graphics card of a laptop could be pretty hard. However, it’s doable as far as all other alternatives that are tried already!


